Item-Level Permissions
Each item in Rapid Platform can have unique user permissions. This means on a per-item basis, you can select who is allowed to Read, Write, or Delete an item. Note that if you wish to set default permissions for all items in a table, this is also possible.
Permissions Panel
Viewing Permissions
To view the permissions on an individual item, first open the item in Explorer. In the Command Bar, press the Edit Permissions button. The Edit Permissions button has an icon of a housekey.

The permissions panel will appear as an overlay panel.

The permissions panel has the following attributes and functionality:
| Attribute | Description | Screenshot |
|---|---|---|
| Label | At the top of the panel, the name of the item whose permissions are being edited is written, along with its item id number. In this example, the label reads: 'Policy 21 - AI Generation Policy' | 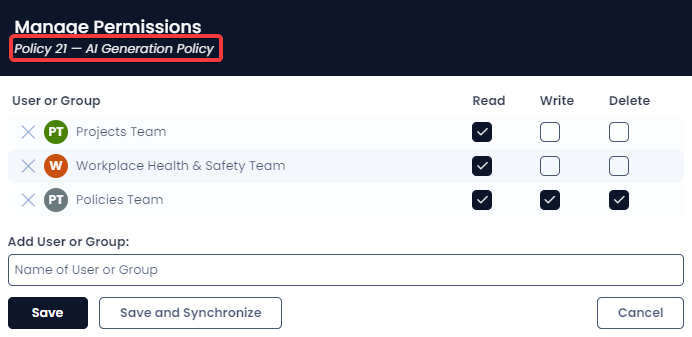 |
| User or Group Permissions | Here, the user can delete a user or group from a policy, by using the cancel (X) button to the right of the user's coin. Each user or group has a coloured coin with the initials of the group or user in white. It also has a string of text that describes which user or group is attached to the item's permission list. At the righthand side of this component is the Read/Write/Delete checkboxes. | 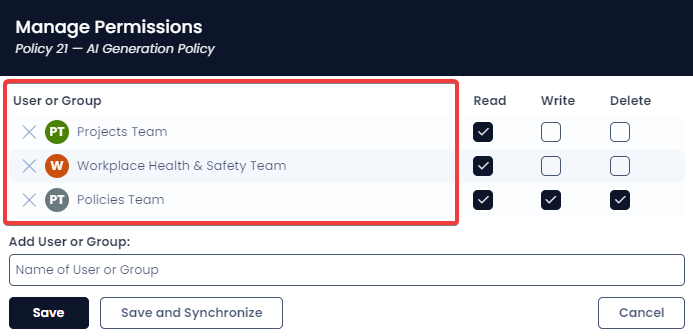 |
| Read / Write / Delete | This is a matrix of checkboxes. Each item row can have the permission to Read, Write, and/or Delete set individually. | 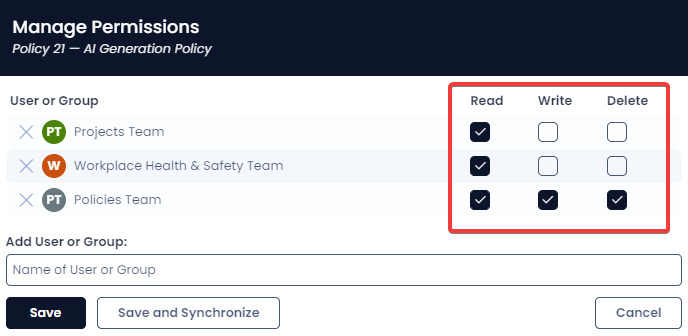 |
| Add User or Group | This searchbar allows you to search for a User or Group and add them to the item's permissions. You can find a User or Group by typing their name into the searchbar. At the time of writing, this searchbar is Case Sensititve. | |
| Save | This button saves changes to the item's permissions | 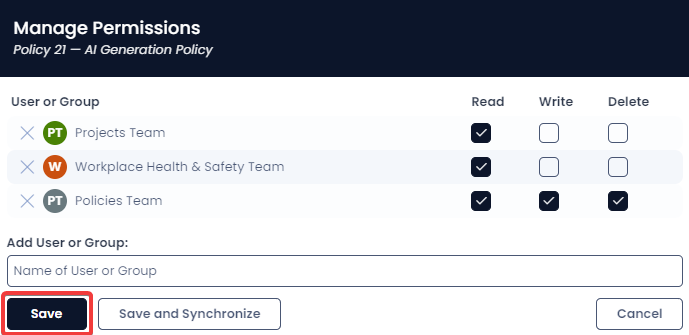 |
| Save and Synchronise | This button saves changes to the item's permissions. It also synchronises these changes to all items that are linked to this item. | 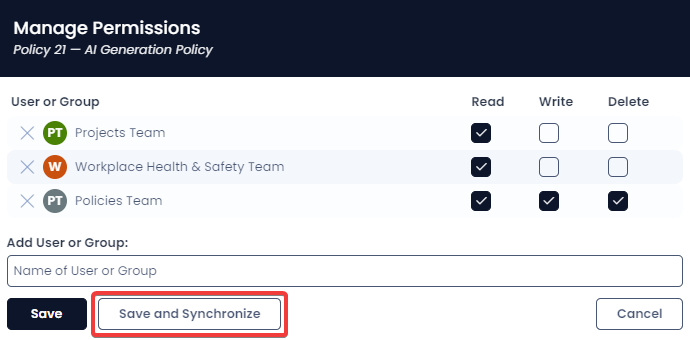 |
| Cancel | A button that allows you to undo any changes made to permissions without saving. | 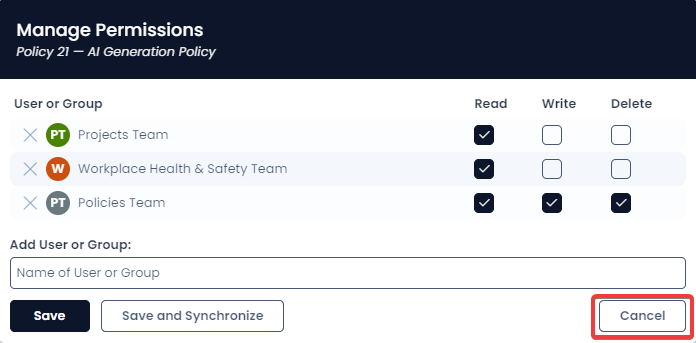 |
Caution: The Save and Synchronise button will change permissions for all tasks, notes, and items that are linked to the current item. This can often lead to unintended consequences, such as certain users losing access to tasks, notes, and items that they require access to.
Permission Levels

There are several levels of permission that can be granted to a user or a group of users.
| Level | Description |
|---|---|
| Read | The user is allowed to read items from the table. |
| Write | The user is able to create and edit items in the table. |
| Delete | The user is permitted to delete items from the table. |
Each of these levels can be set separately. For example, you may choose to grant a user Read and Write access, but not Delete access.
The lowest level of permission is "None", where a user does not have Read, Write, or Delete access. The highest level of permission is when a user is able to Read, Write, and Delete data.